Romabio Limewash to the Rescue!
- On Dec, 18, 2018
- BeckyC
- Becky's Blog
Well friends, after several months of fighting the weather and soccer schedules…I’m so excited to finally reveal our brick transformation with Limewash from ROMABIO PAINTS!
We built our house in 2005, and LOVED our brick…we actually chose it for our first home way back in 1996 too! But after living here for 12 years, we were ready for a fresh, updated look. Enter Romabio Paints to the rescue!! We partnered with ROMABIO PAINTS to use their Classico Limewash to give our home a unique vintage style we love.
We’ve gotten many questions about the limewash process.
So, I’m going to answer the top three inquiring minds want to know:
Is the limewash easy to apply?
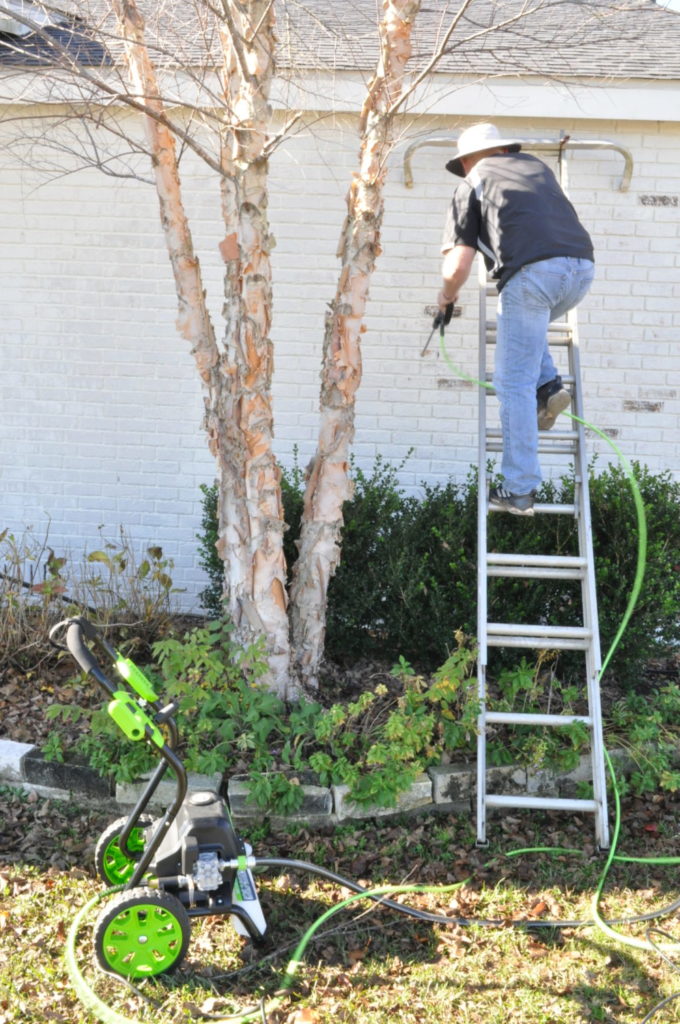
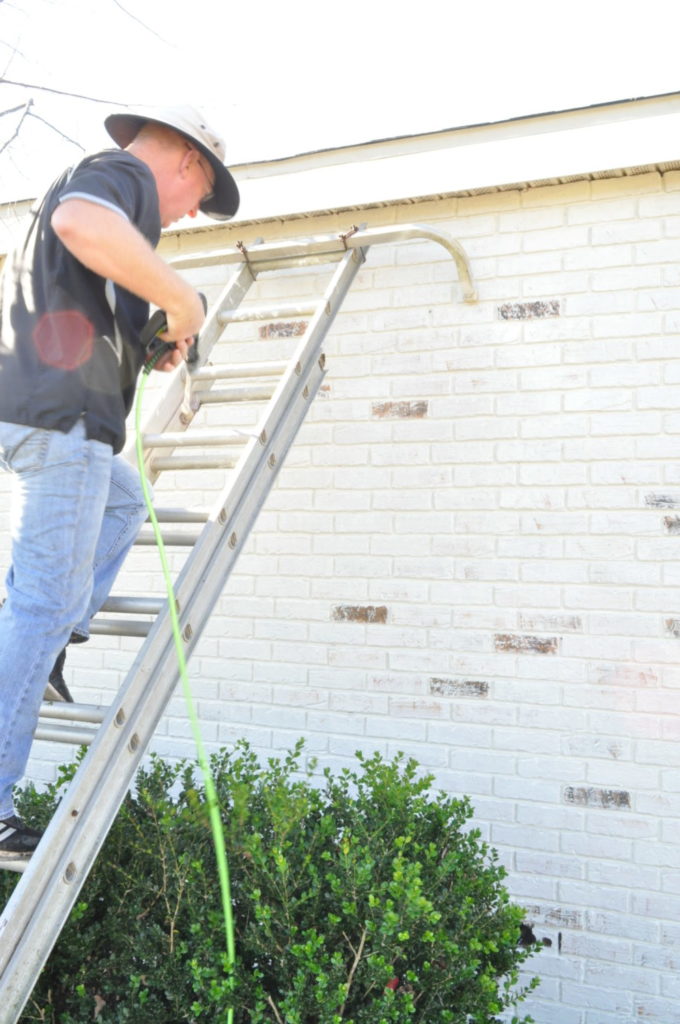
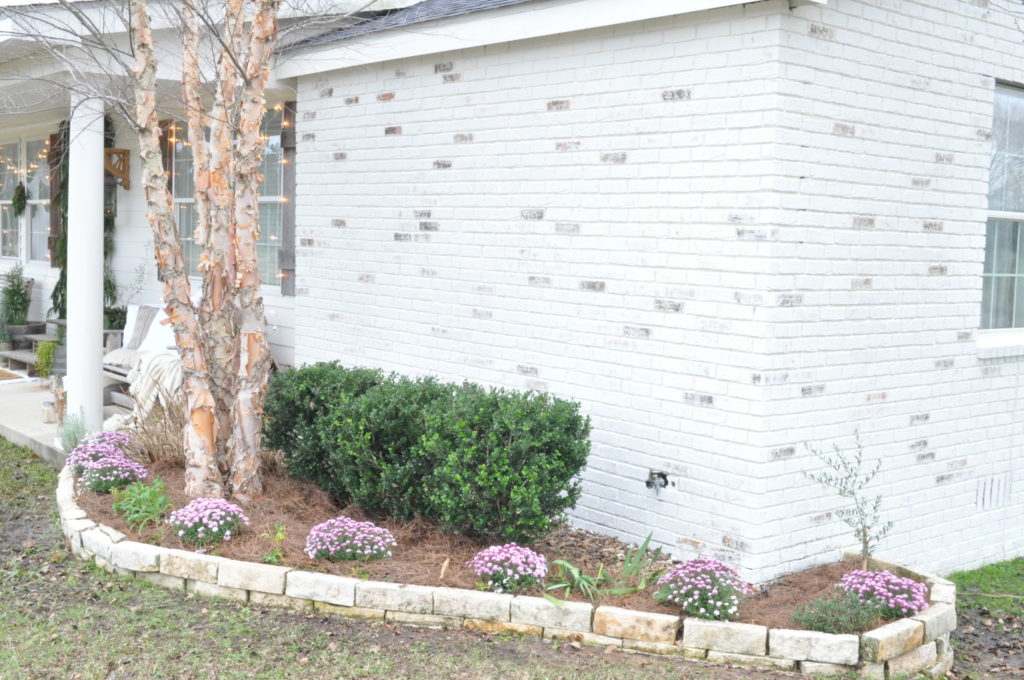
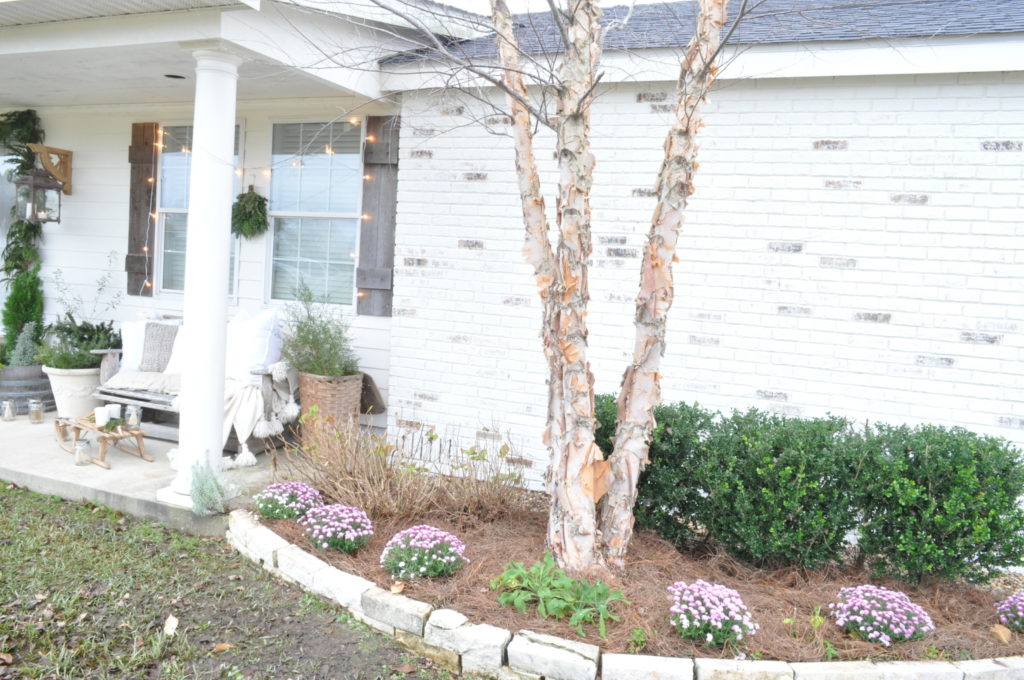
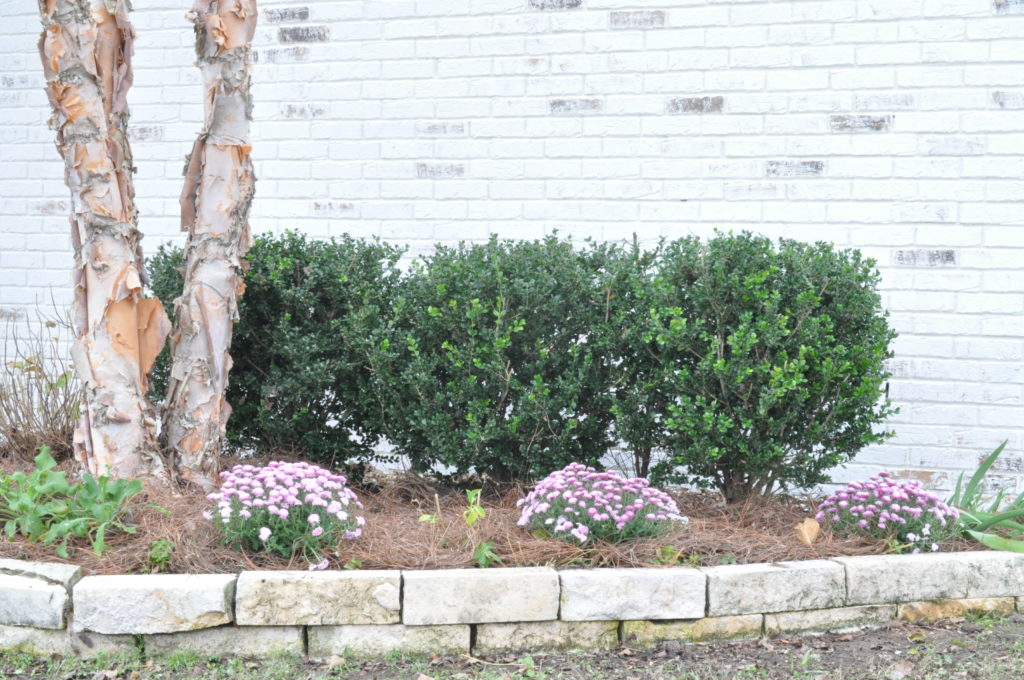
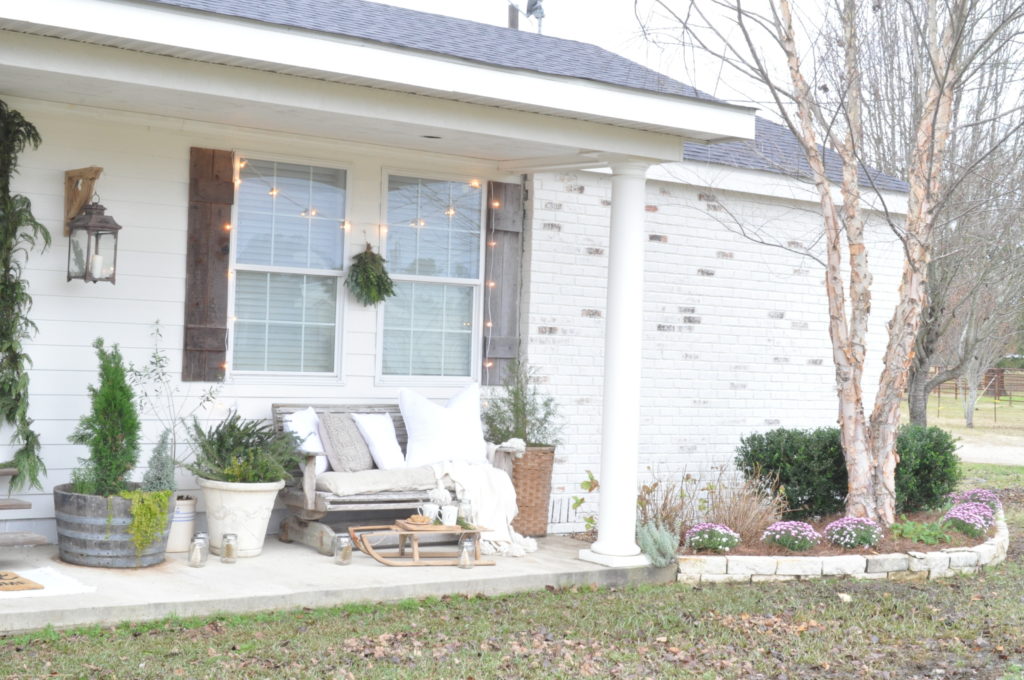
The process is simple…the limewash is diluted with water to customize the thickness before being applied. There is a special brush that’s used to apply the paint (or it can be sprayed on). We had a painter apply the paint and then my husband distressed it with a power washer. The limewash is so amazing…it can be removed up to five days after application. So, there’s no commitment to painted brick. And, you can remove as much or as little as you choose, to show the brick colors underneath. We wanted to have our black brick peeking through, to create a nice contrast to the white.
Are there several colors to choose from?
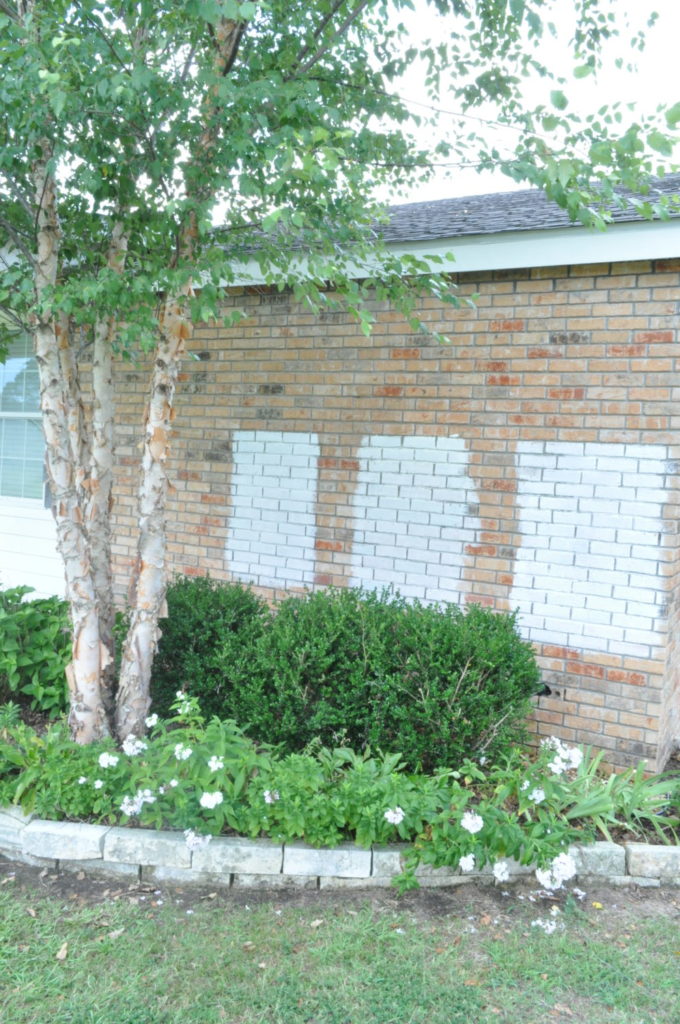
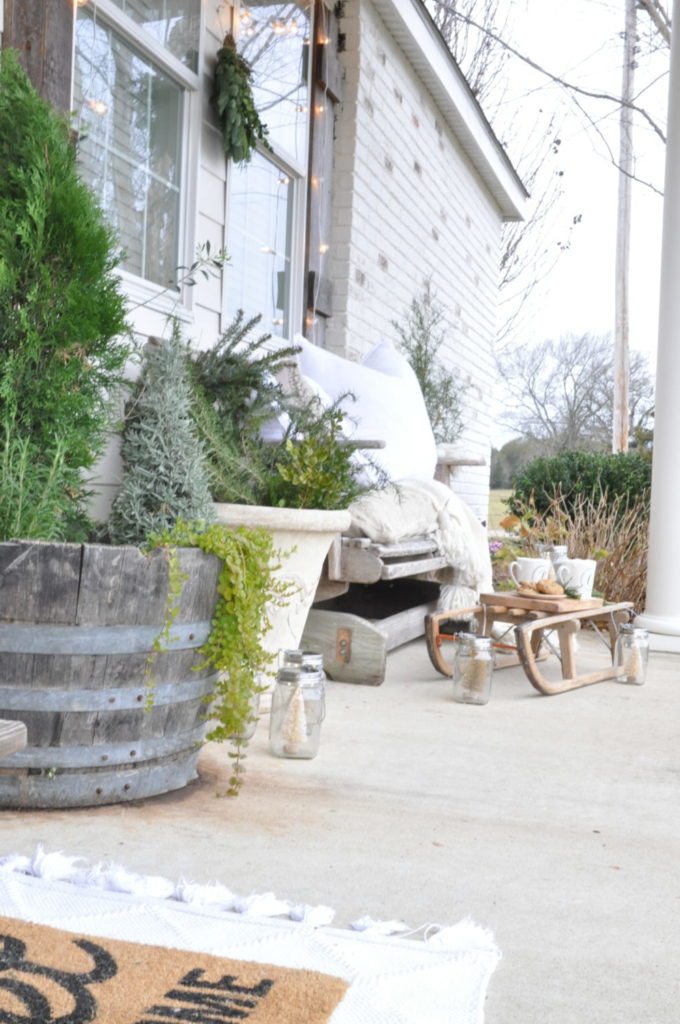
Yes! We chose three samples to test on our brick… and our Instagram friends helped us by voting on their favorite. From left to right (below) it’s Avoiro white, Bianco White, and Cristallo White. Our Instagram audience chose Avoiro White, and that’s what we used on our house! It blends so well with our porch siding and trim. There are seven colors available to choose from, for a variety of custom options to fit your desired style.
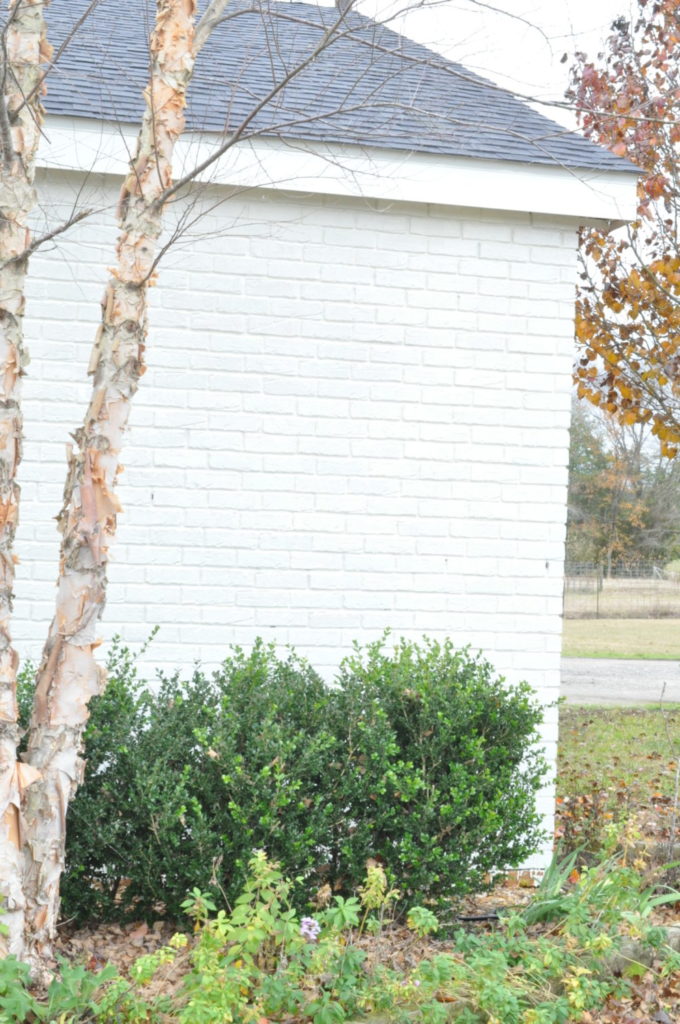
After the limewash is applied:
During the distressing process:
Is the RomaBio Limewash expensive?
The ROMABIO Limewash can be purchased at HOME DEPOT and is affordable and comparable to other paints. The 4 gallon bucket covers up to 1800 sq feet. The ROMABIO PAINTS website has information on how to figure the amount of limewash you need to cover your brick or stone. Also, there are many informational videos to watch as well, that can help answer any other questions you may have about the limewash.
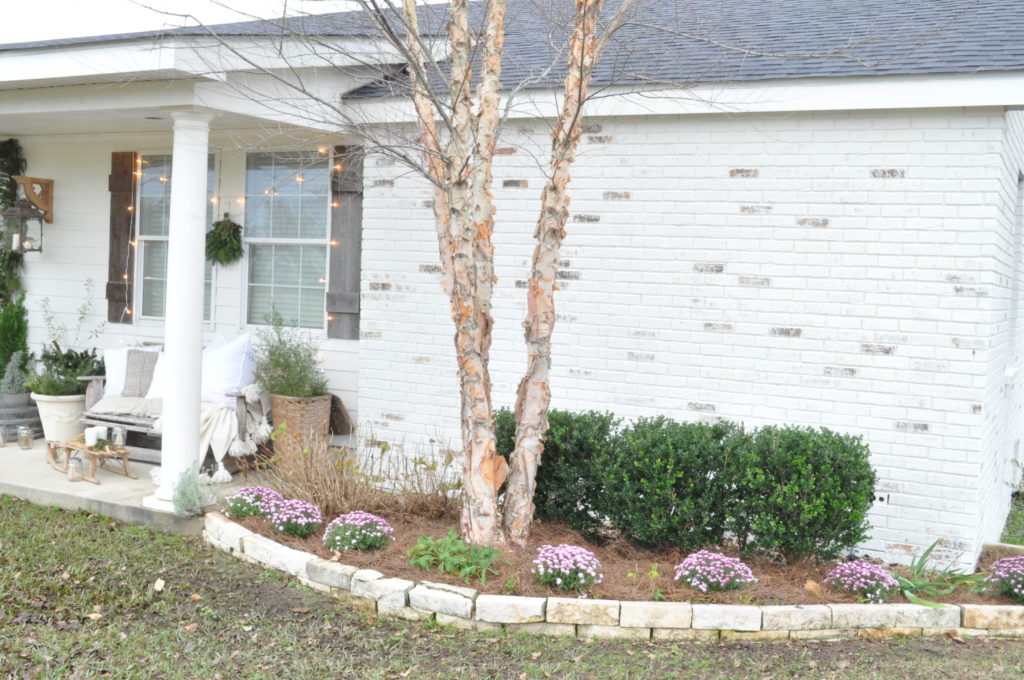
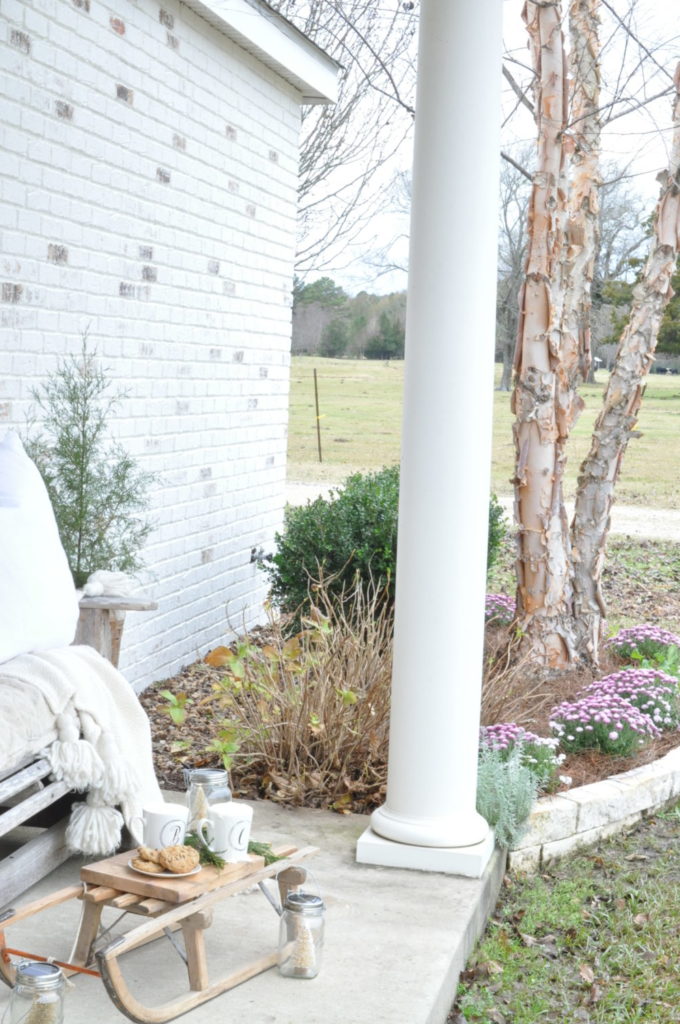
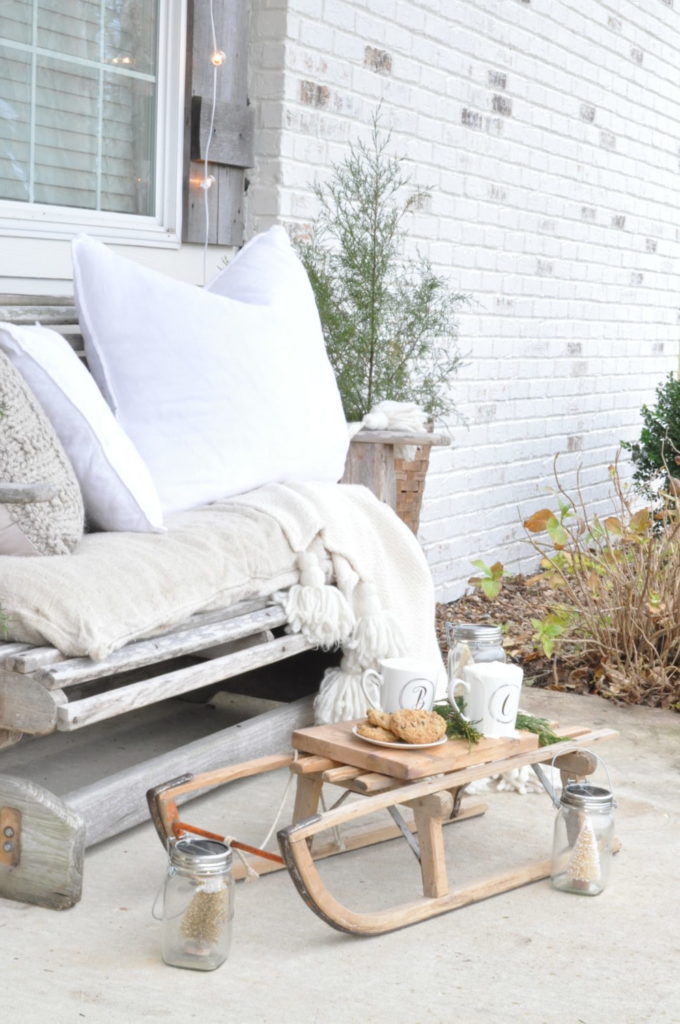
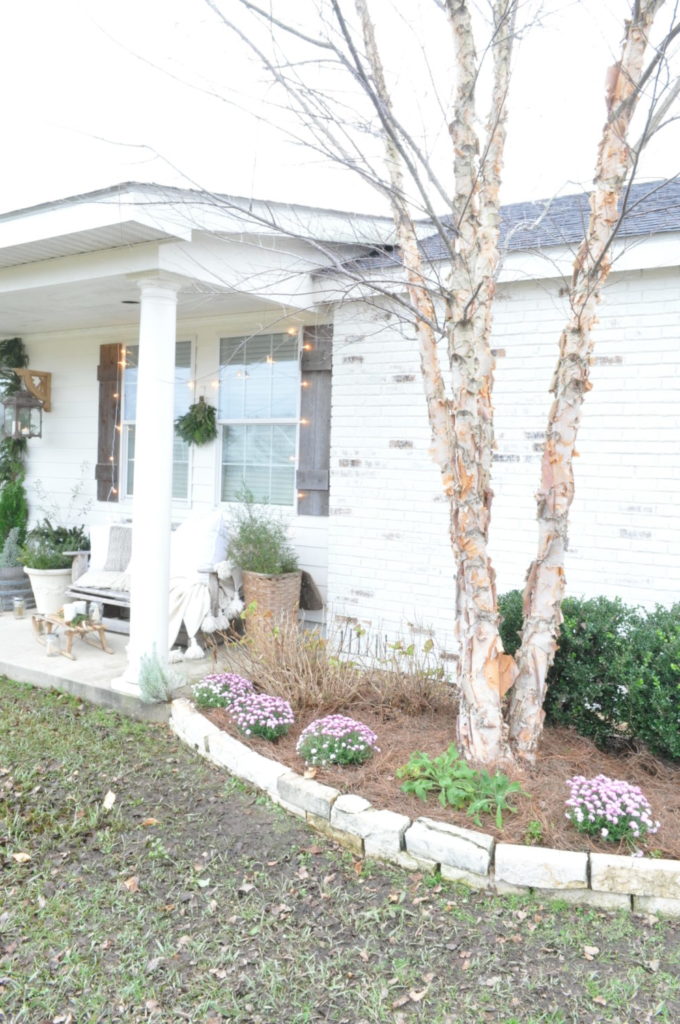
And, just take at look at the before…wow, what a transformation! We’re so happy to have our house finished just in time for the holidays!
And we’re trying to finish a makeover on our front steps to reveal the other end of our house before the NEW YEAR. We’ll see! Until then, you can view the whole transformation on on my Instagram story Highlights HERE.
So many of you have mentioned that you are interested in updating your curb appeal too…and I would highly suggest looking into the ROMABIO PAINTS limewash.
It sure made a big difference in our home, don’t you agree? I’d love for you to leave a comment, and let me know what you think about our brick now. Or, if you have a question…leave it in the comments and I’ll do my best to answer soon. And thanks so much for visiting my blog today!
Enjoy this week before Christmas!!
Blessings
Becky C


Is your trim and soffits a stark white? I’m dying to try it…love your outcome…just worried I need to paint everything else!
On the samples that you did on your brick, did you have to buy the small size of all 3 at like $32 each to do that? I would really like to test like 4 colors, but really don’t want to pay $32 each for the smallest size. I couldn’t find any “test sizes” anywhere. Just thought I’d check. Thanks.
Your house is just beautiful! I’m thinking of limewashing my home as well and am trying to find the most efficient way to do it. How did the professional painter apply the limewash? With a masonry brush? Thank you!