
Pumpkin Floral Centerpiece Tutorial
Happy NOVEMBER friends!
I hope everyone had a wonderful October! Now, it’s all about the Holidays, right?
I LOVE Thanksgiving and Christmas so much! So, you’ll see a mixture of ideas for both 🙂
I don’t know about you, but this time of year, when the Holiday season is before us, I like to get my heart ready.
I have to intentionally remind myself what’s important is true HOSPITALITY.
Opening my home to others is my favorite GIFT during the Holiday season!
So of course, I love to set a pretty table! And when I shared this pumpkin floral arrangement, many of
you asked for a tutorial. It’s very simple to create this centerpiece with fresh flowers, greenery and succulents.
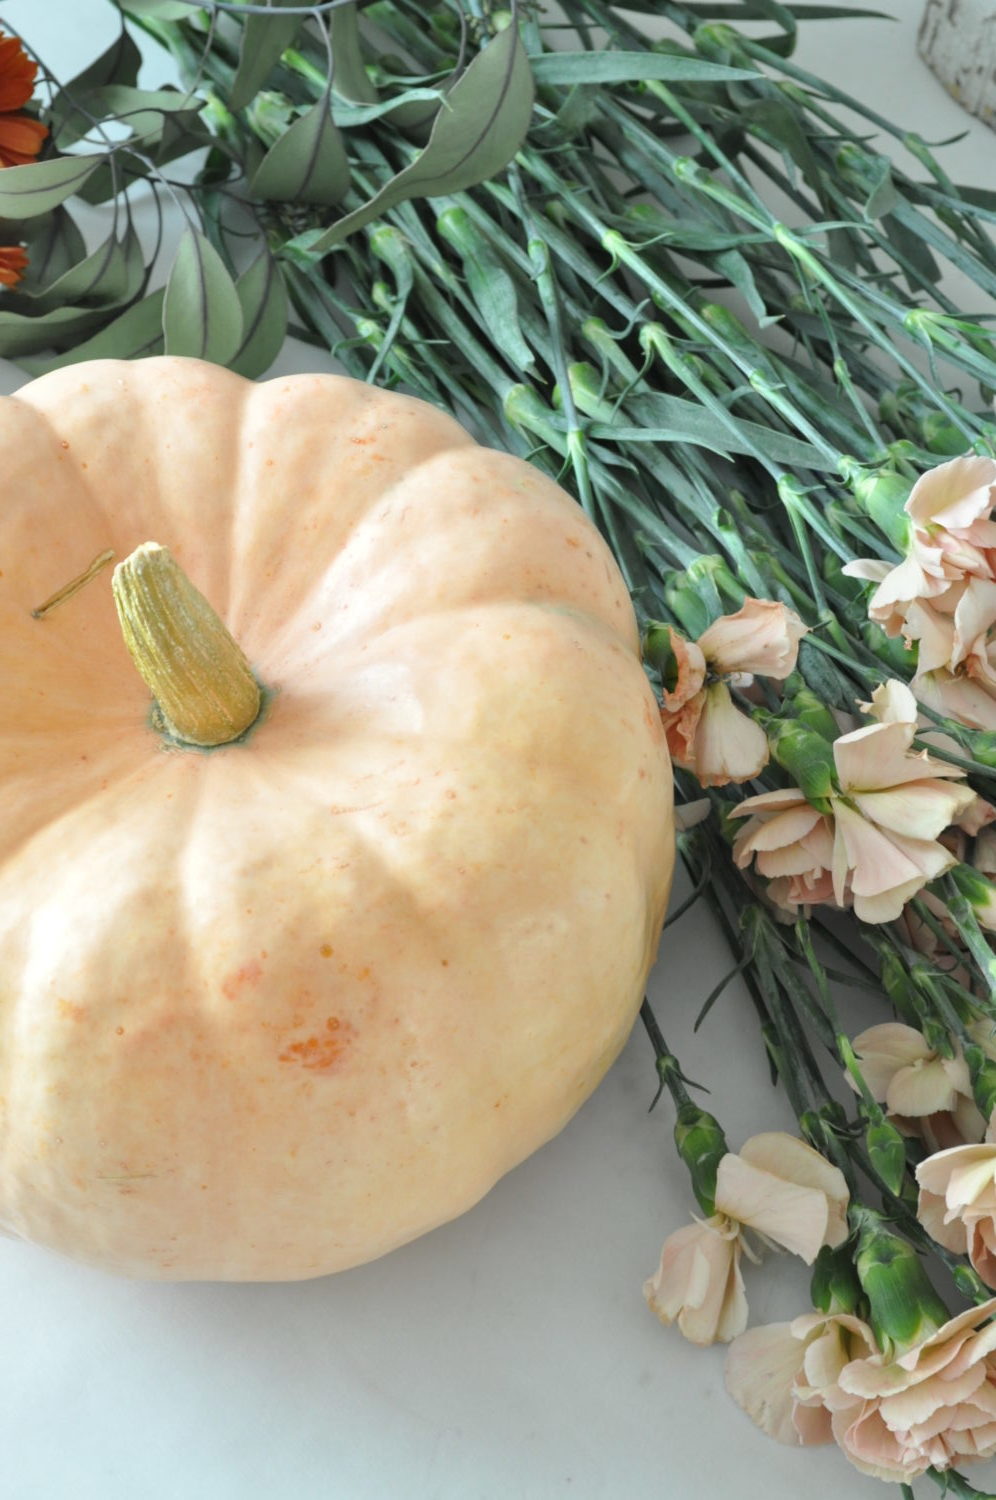
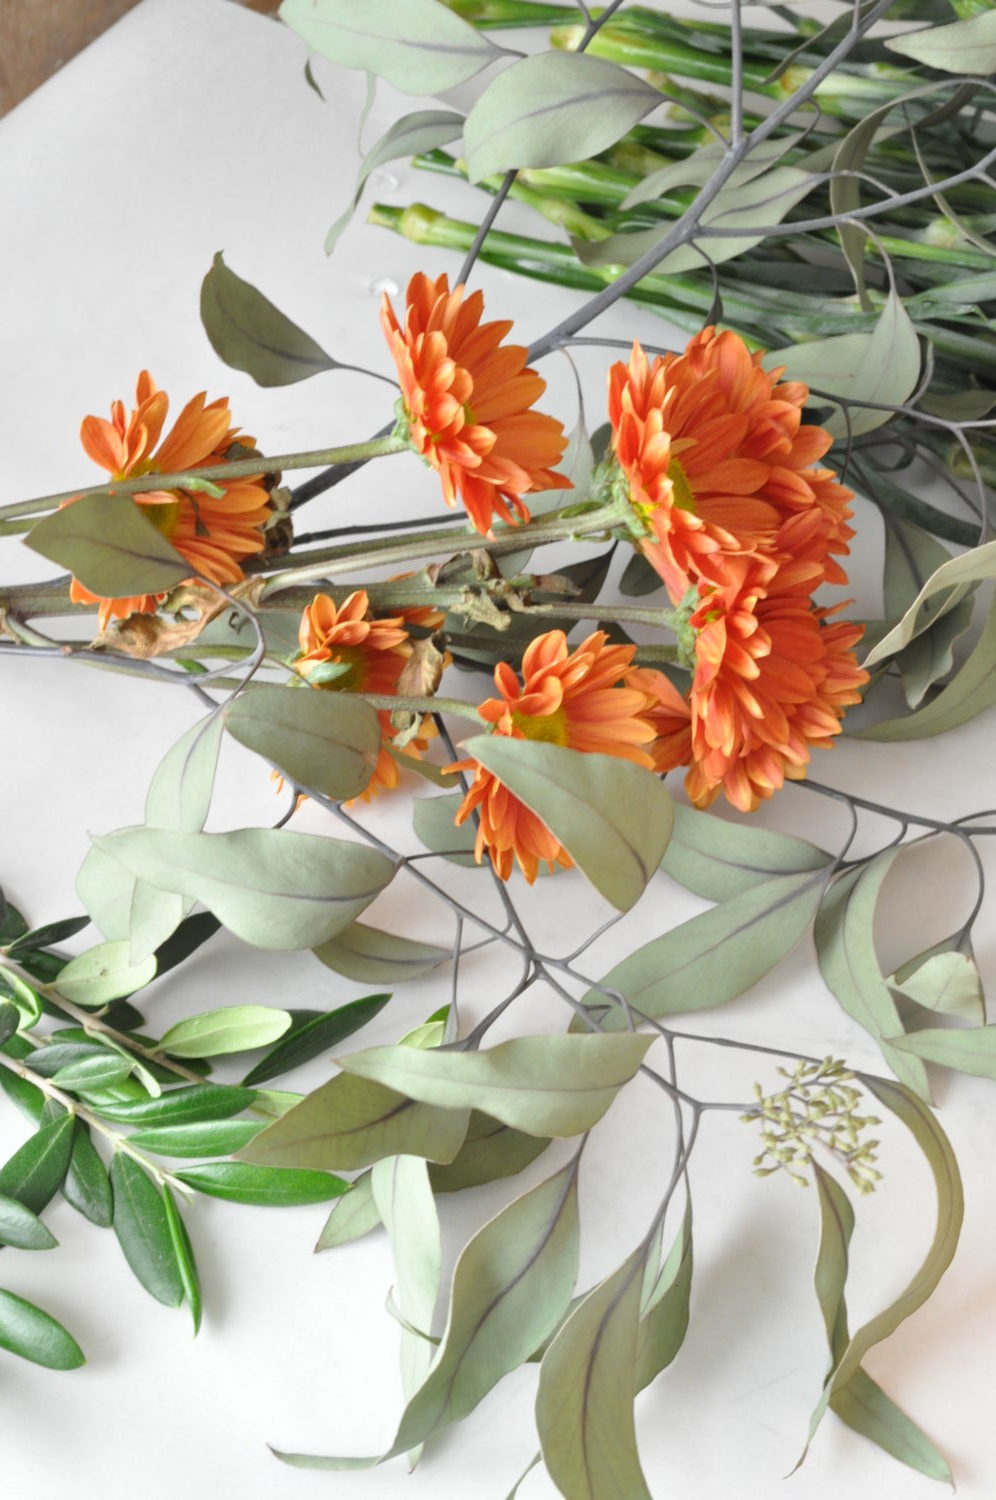
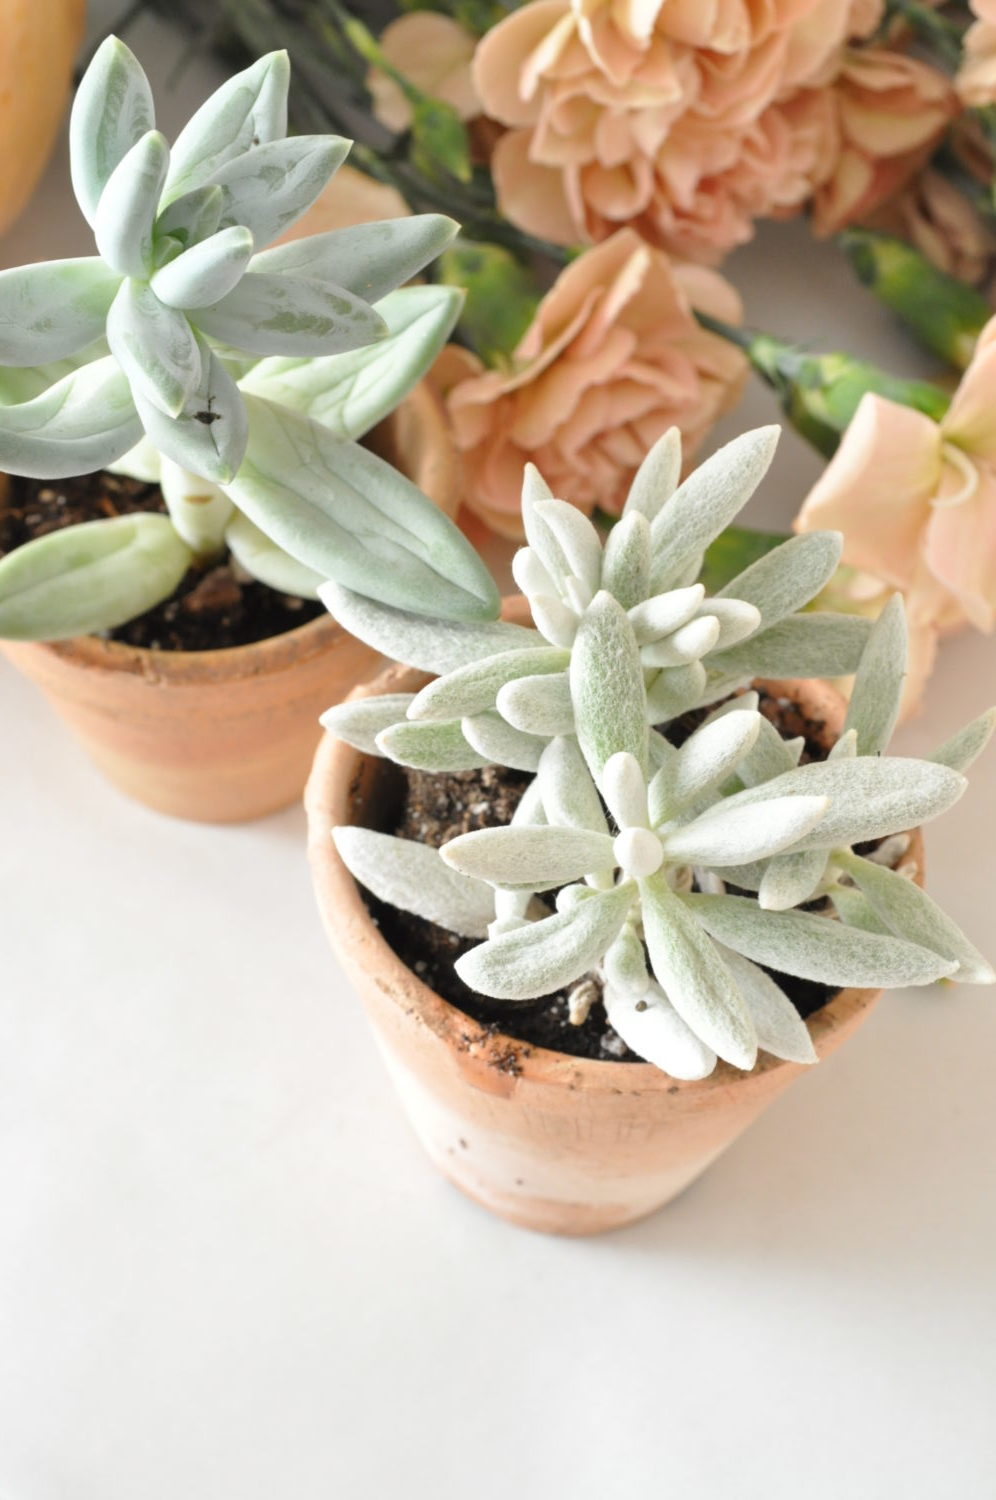
First, gather your supplies. I used a peachy heirloom pumpkin, carnations, 2 succulents, mums,
clippings of oregano, dried eucalyptus, and olive tree leaves.
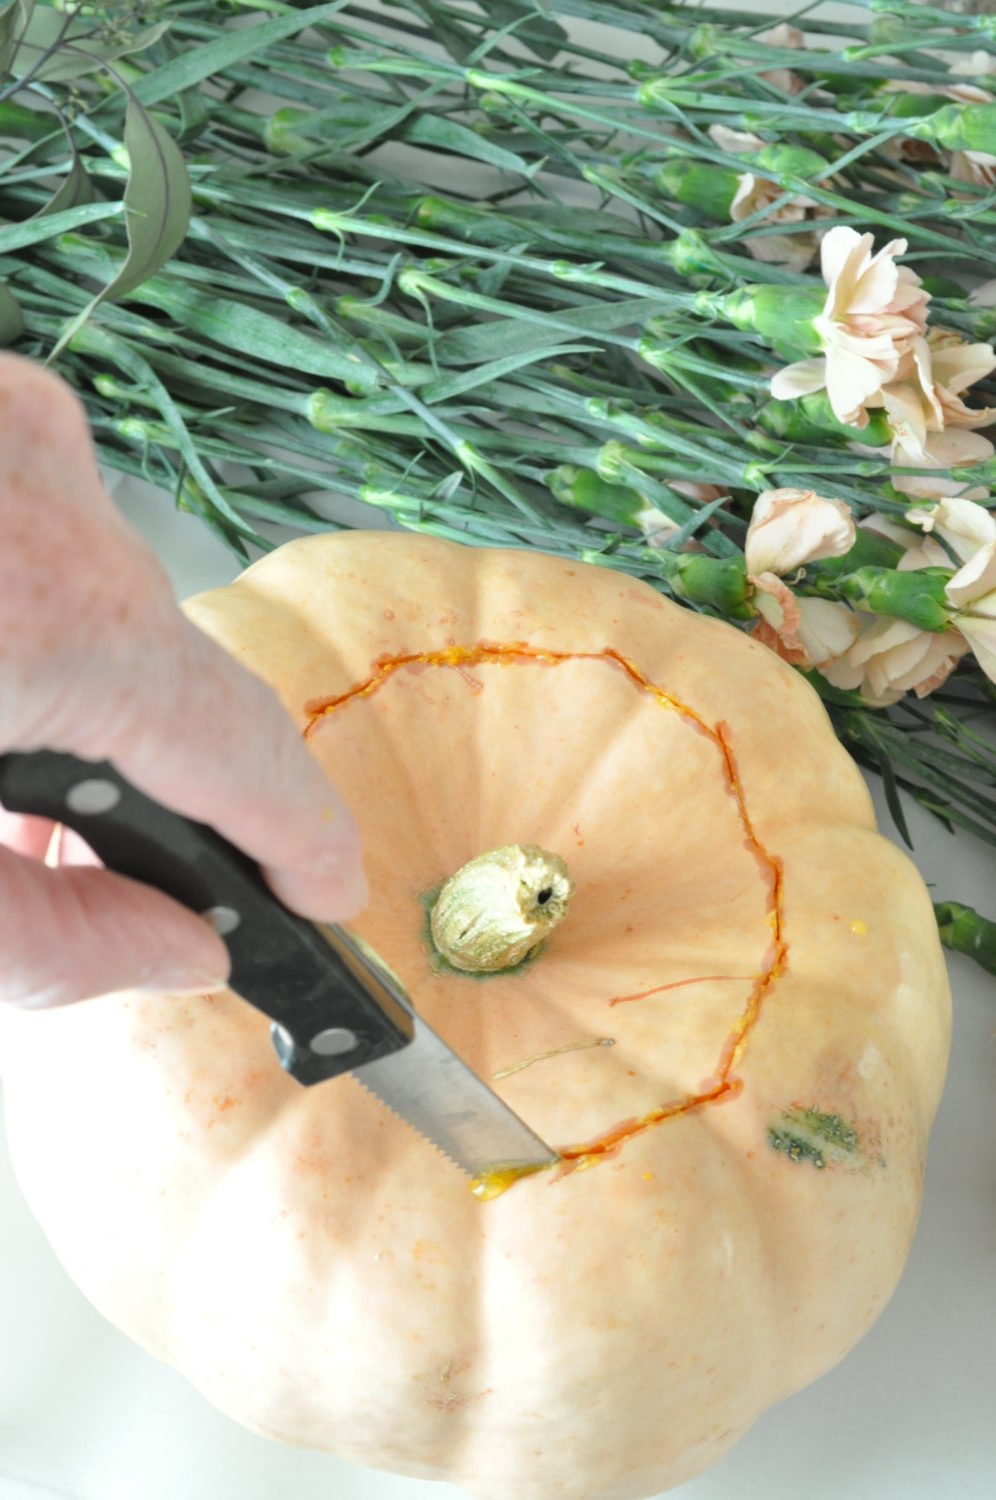
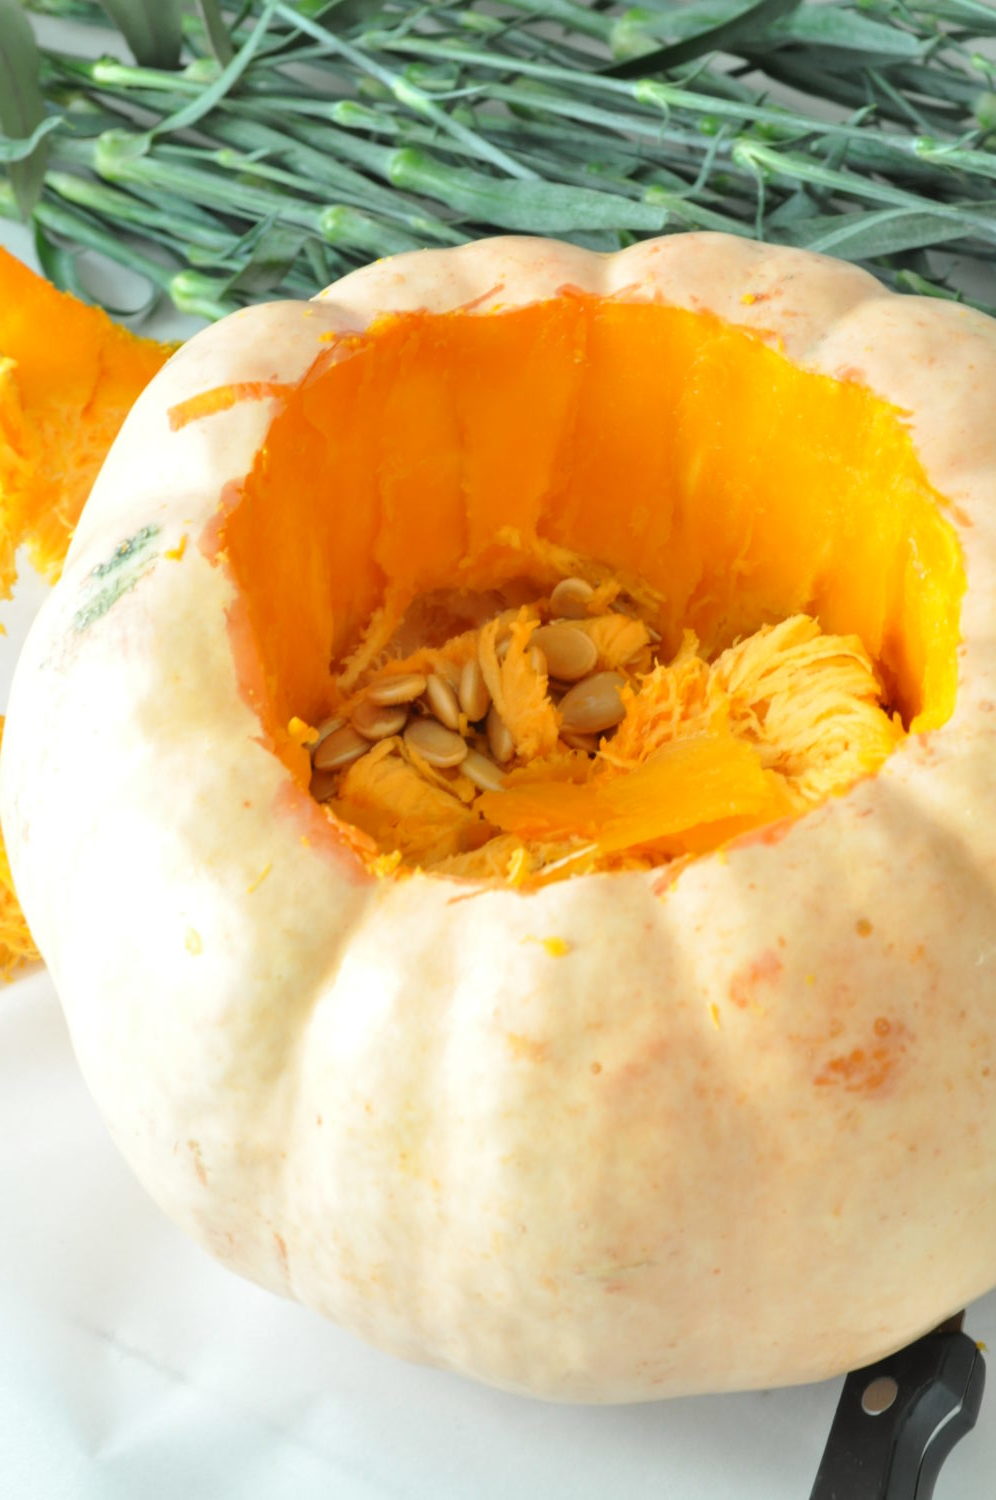
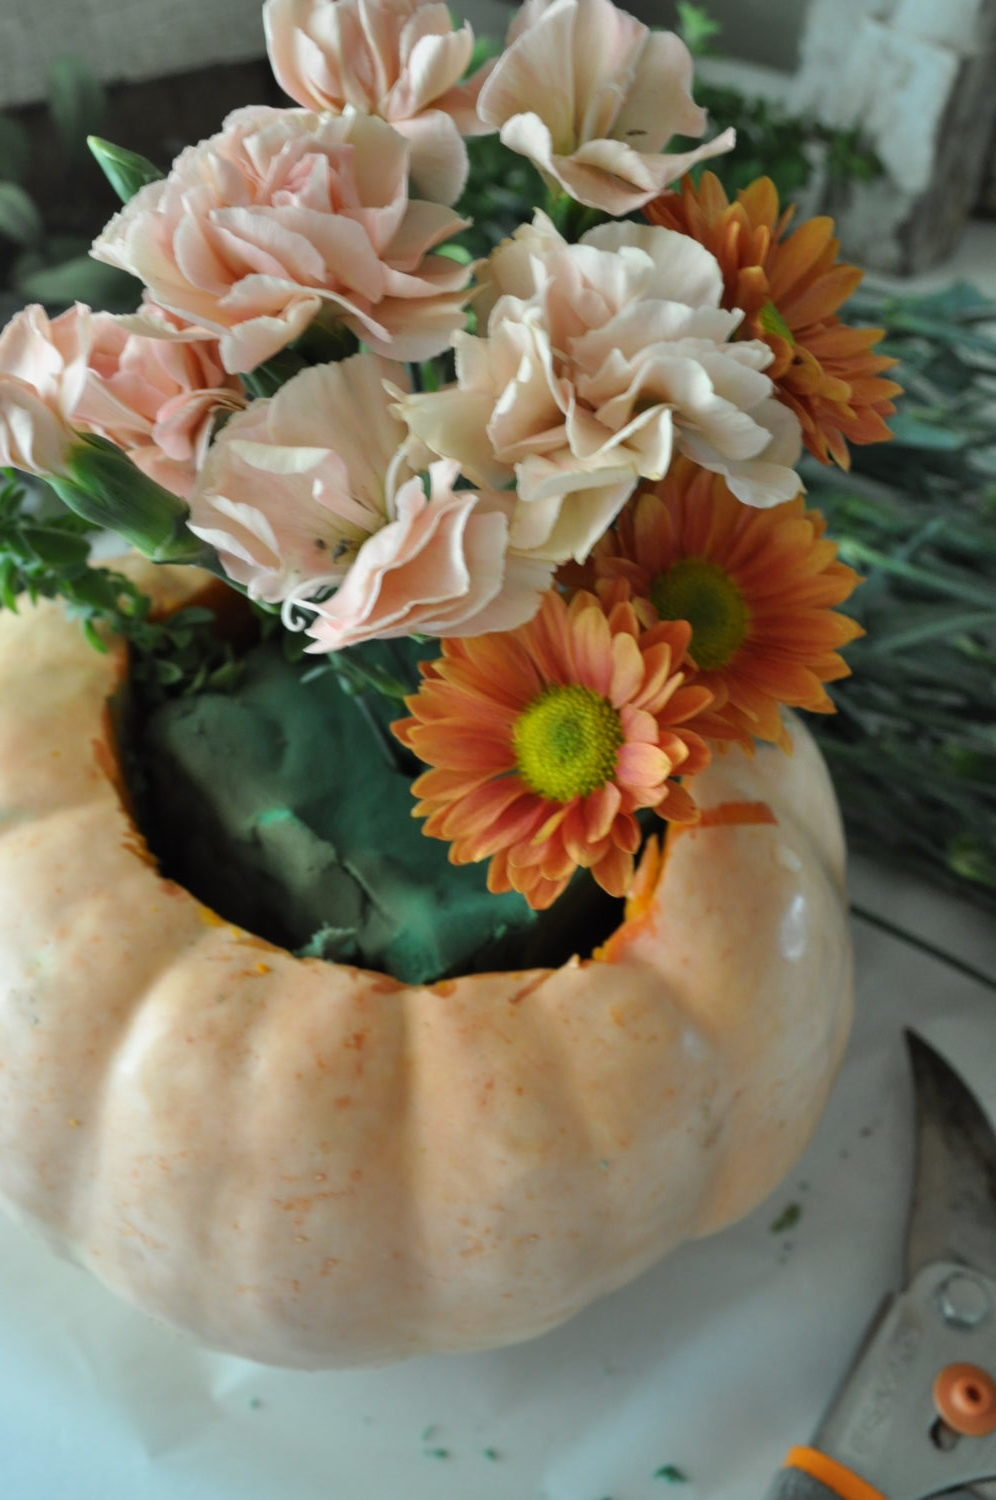
Cut the top off the pumpkin a few inches away from the stem, and clean out the inside.
You can keep the lid and use it as part of the topping, but I just threw mine away.
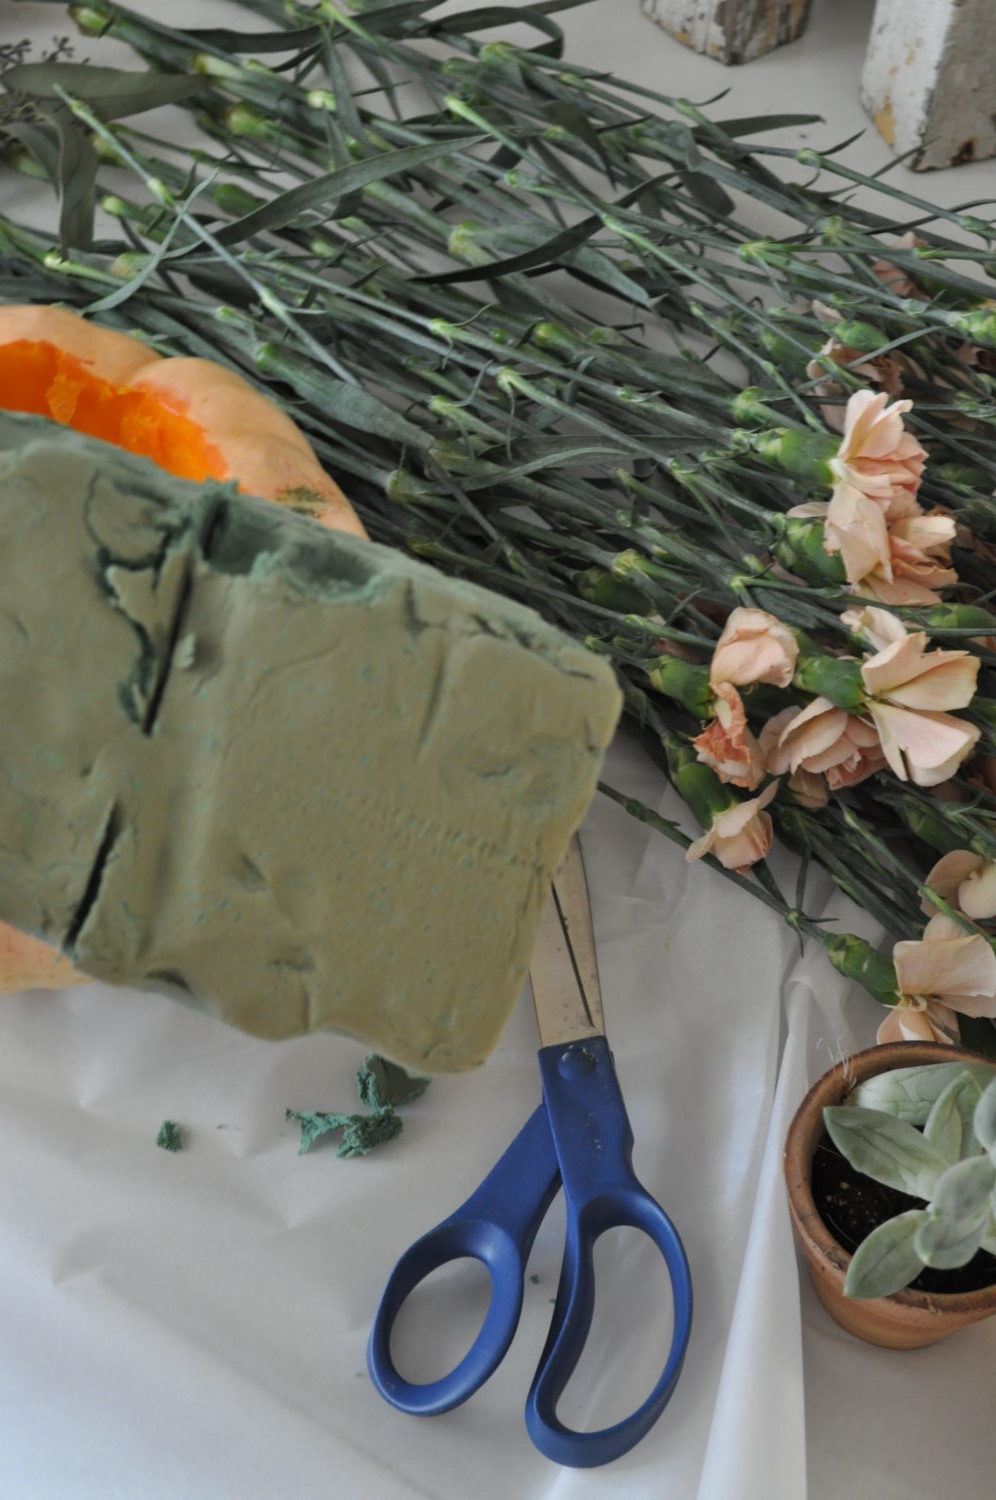
Using wet floral foam (FIND HERE) cut it into a square that will fit down into the pumpkin.
This is what you will push the stems into…keeping them fresh for over a week!
Add a little water to the foam to make it easier to push the stems down into.
If you don’t have the foam, no worries!
You can simply place a small cup of water in the pumpkin and add the flowers to it.
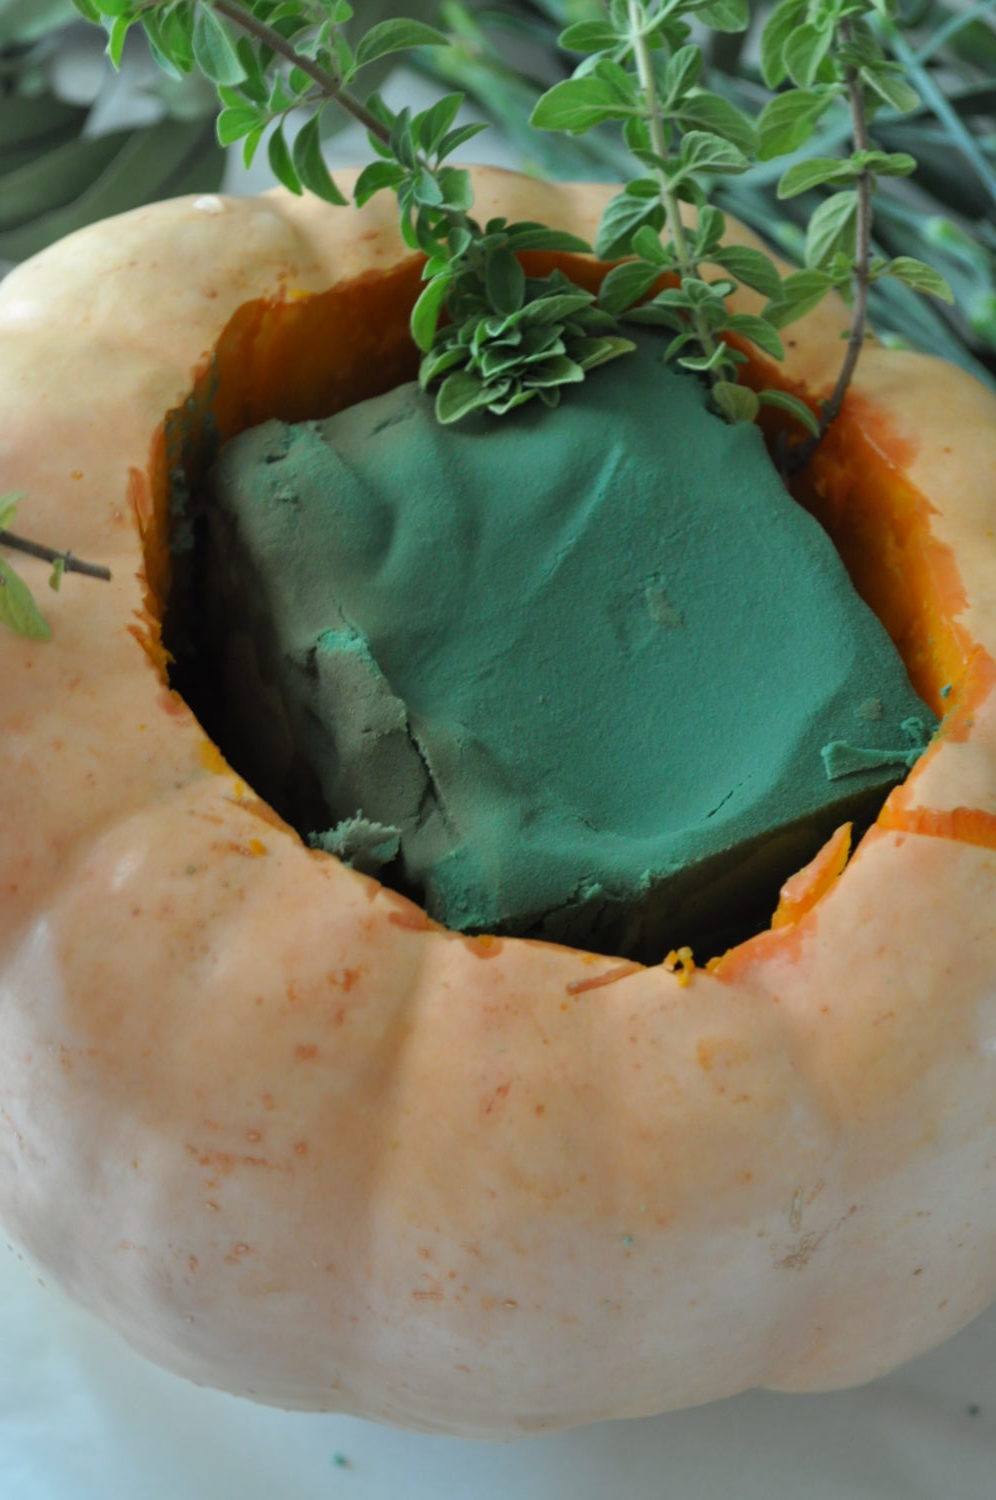

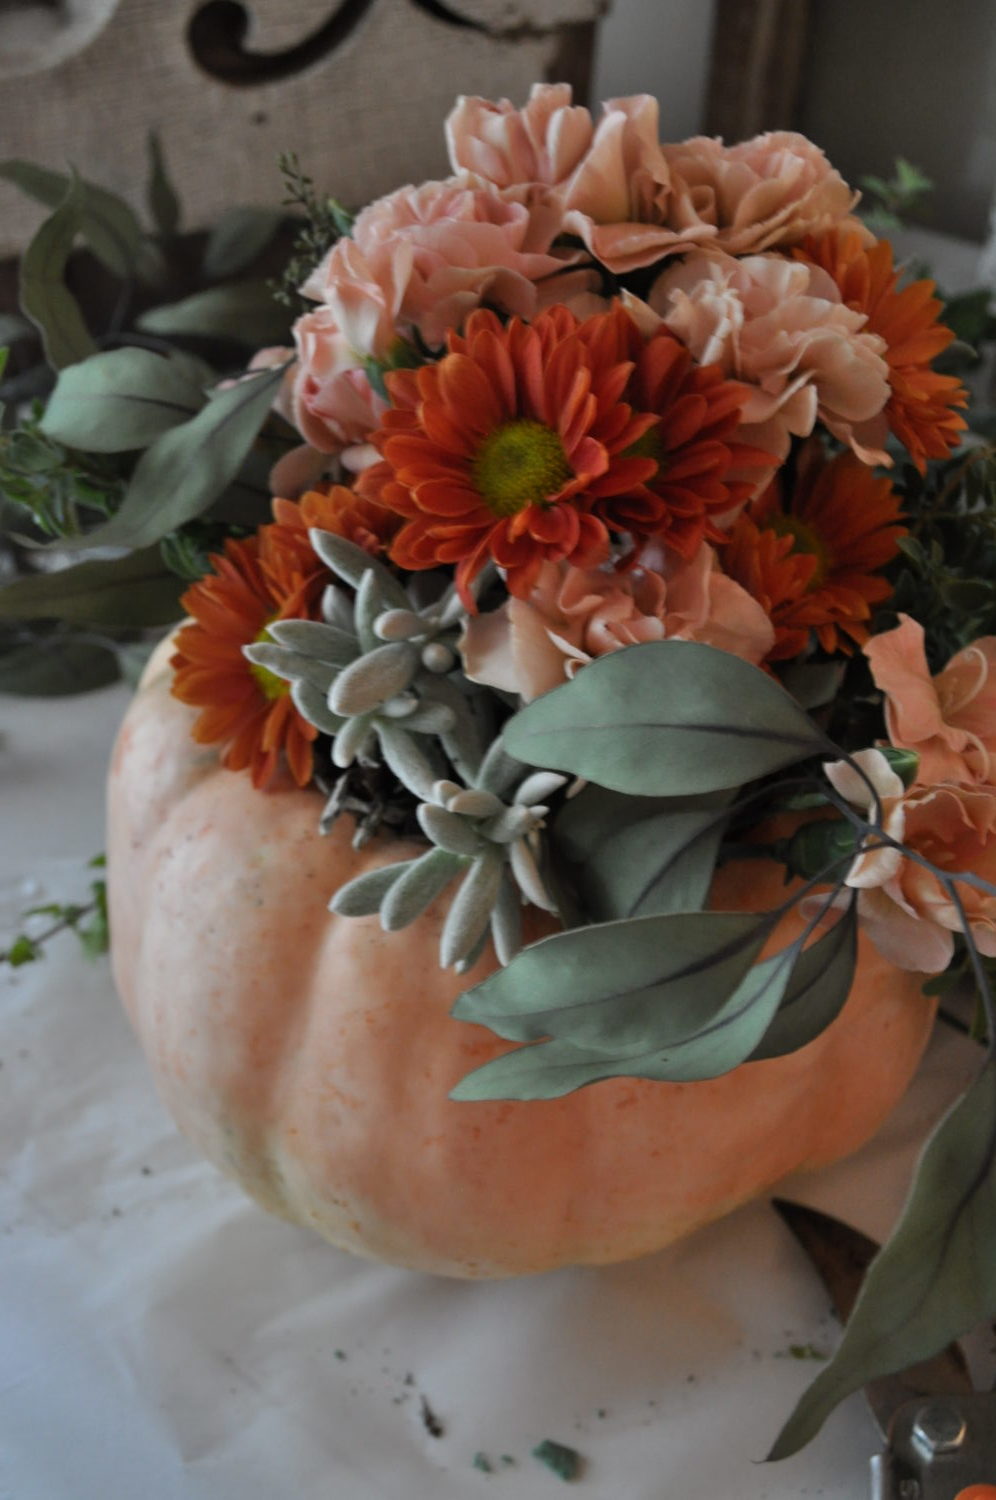
Begin by clipping the flowers at the height desired. Then add one at a time, placing taller flowers in
the center, and shorter ones on the edge. Where you see a gap between, you can add greenery or a
succulent. I put one succulent on each side, with flowers and greenery all around.
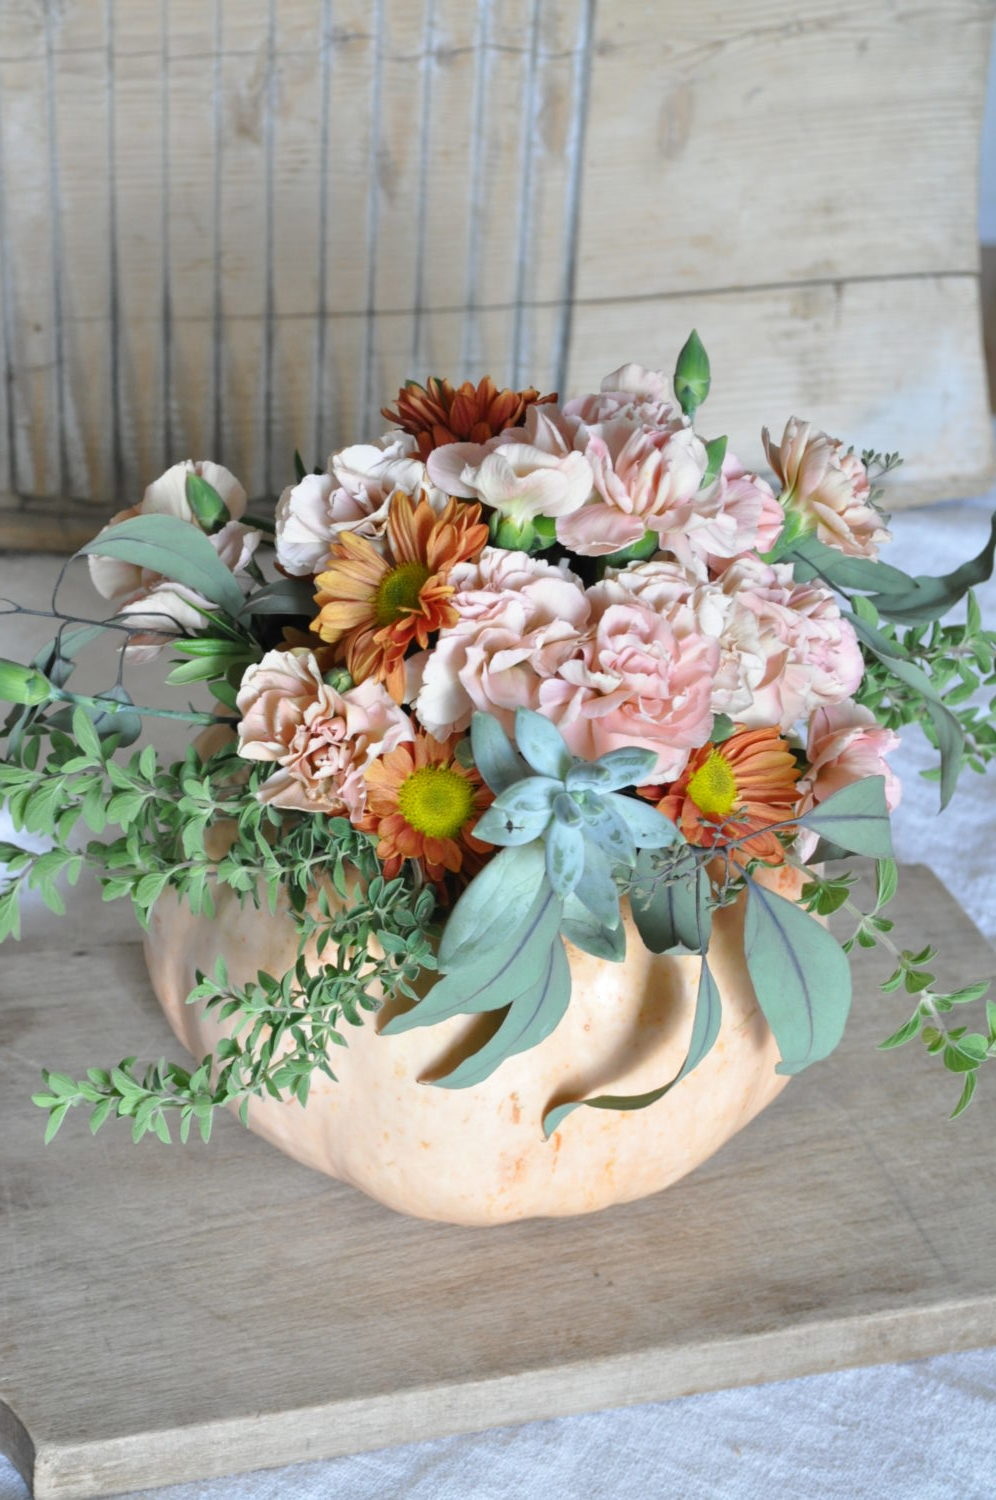
Just work your way around the entire opening, until each little space is full, leaving no
gaps in the arrangement. You can mix the colors, or put groups of colors together.
It’s all up to you! And if you don’t like the placement of a flower, just remove it, and
find a new spot!
Continually turn the pumpkin, and pay attention to how the florals are balanced…so that you don’t have a lopsided centerpiece.
It’s also great to use at least one greenery that will “hang” over the edges. It creates a cascading effect
that is so pretty with the contrast of the pumpkin.
You can do this with any size pumpkin, and with any color flowers you choose.
You will want to add water to keep it looking fresh.
I added a 1/4 cup water to my arrangement (pouring directly into the foam) every other day…and it lasted
for 12 days!! That’s amazing, right!?
And, what a beautiful centerpiece for your Thanksgiving table!
I truly hope you use this tutorial to make your own!
However, if you’re local to North Louisiana…you can come make one with me to take home!
Yes! I’m teaching a PUMPKIN FLORAL ARRANGEMENT WORKSHOP at
Kings Antiques and More on Kings Hwy in Shreveport, Louisiana.
The workshop will be held on November 17, from 10:30-noon.
The cost is $25 to reserve your spot, and there are only 12 spaces available!
All materials will be provided, and you get to take one home for your Thanksgiving Table!!
Please visit the shop or call 318-865-5033 to register for the WORKSHOP!
Please let me know if you’re coming! I’m so excited to create with you!!
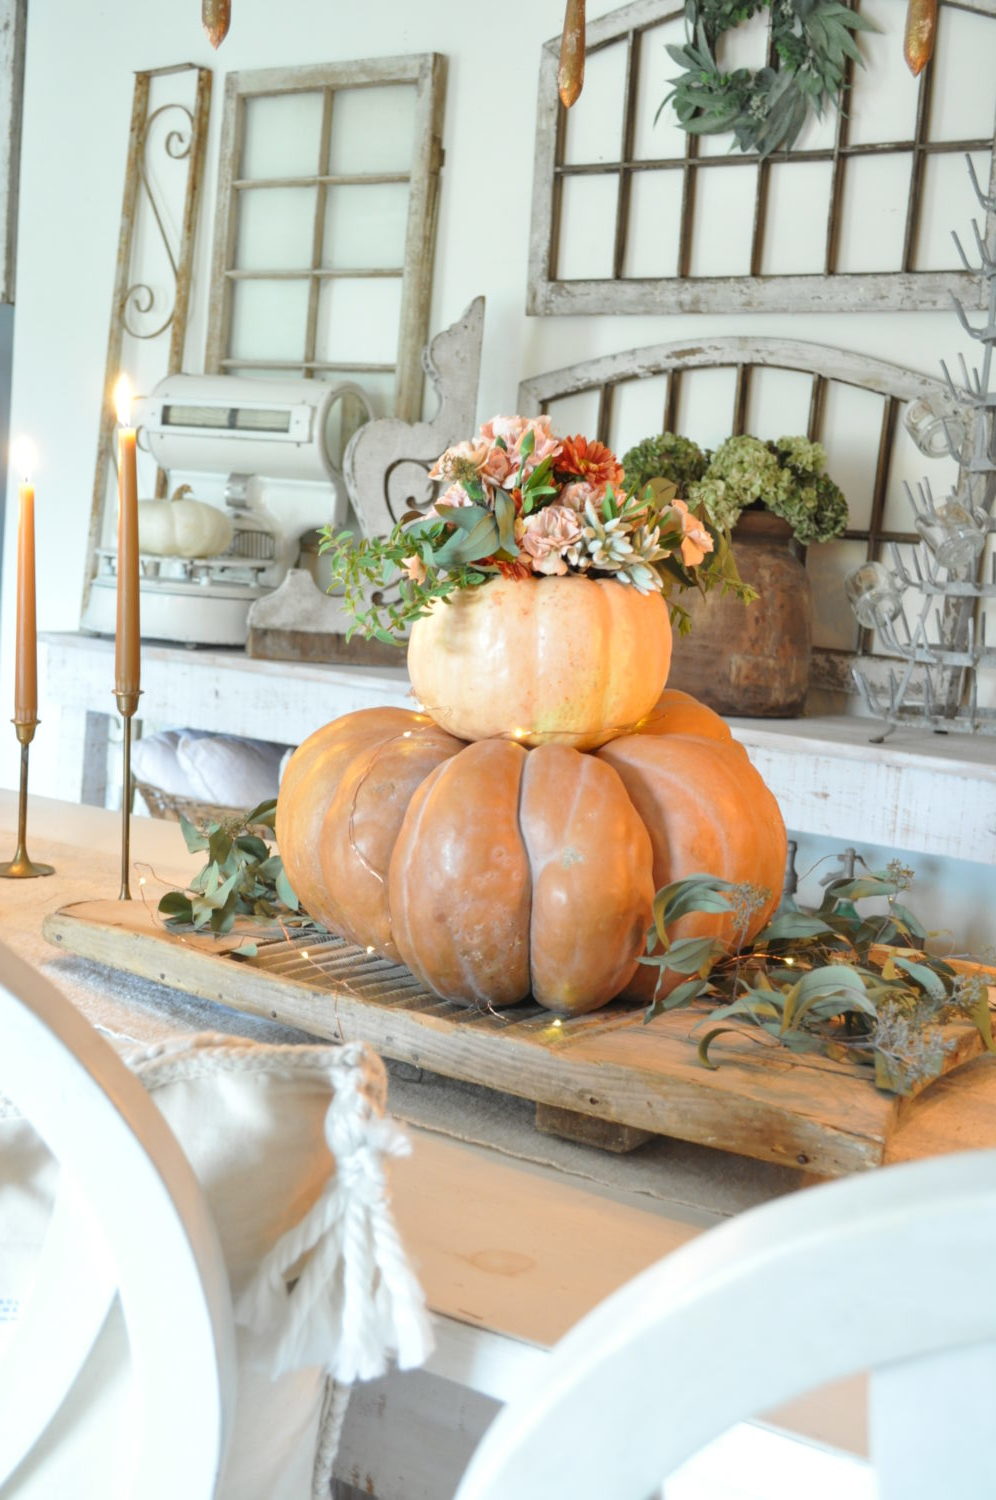
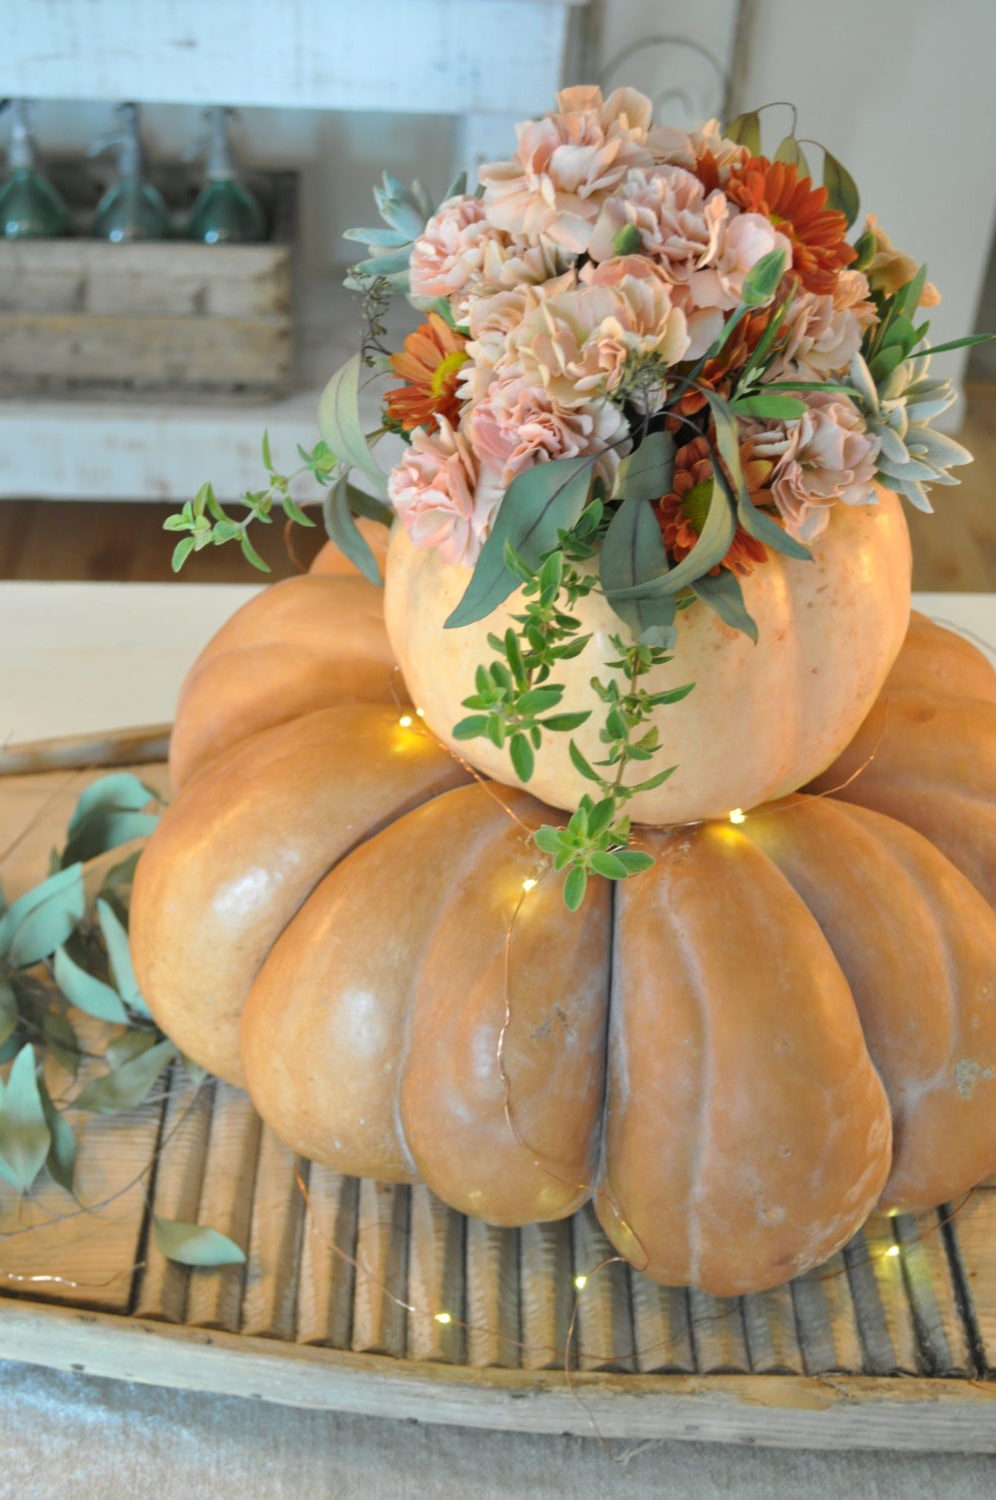
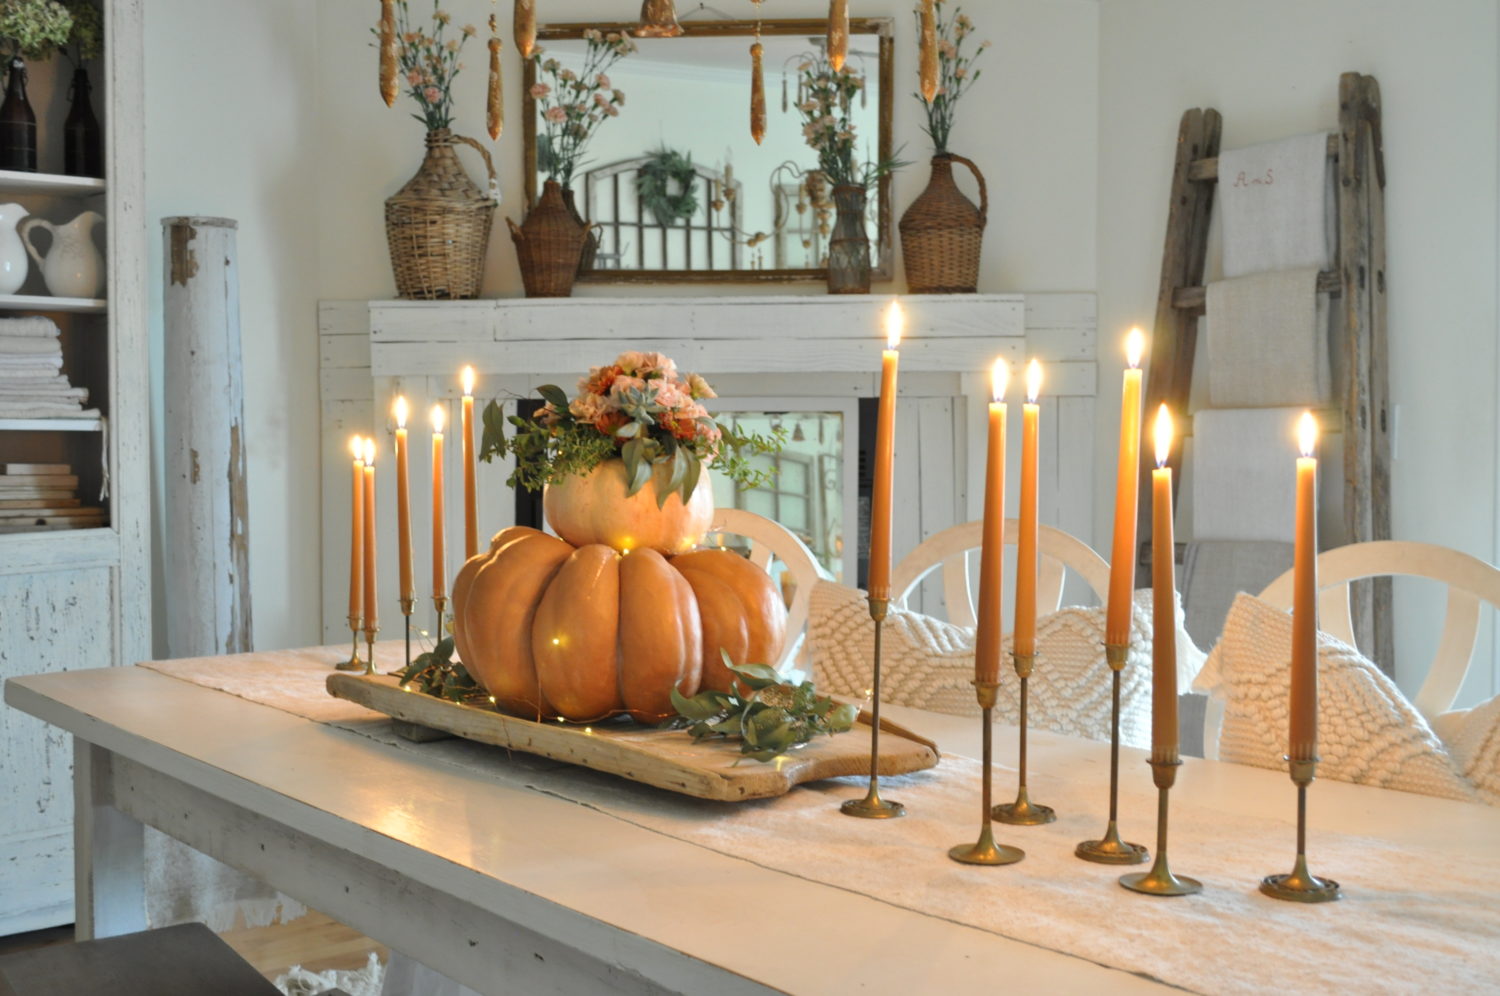
There are so many variations of this that you can do…I set mine on top of another larger pumpkin
to create a “cake” centerpiece. It’s so pretty like this, especially with twinkle lights wrapped around.
You can make it as simple or elaborate as you prefer.
I added taper candles on either side, and the glow is just stunning!
I certainly hope this inspires you to create a Pumpkin Arrangement for Thanksgiving!
If so, I’d LOVE to hear from you!
Simply leave me a comment here on my blog post…
Or, come over to Instagram HERE and let me know by tagging me in your stories or post.
And, as always, if you LOVE this blog post, please share on Pinterest HERE or other social media!
Thank you for visiting my blog today!
I’m truly thankful for each of you! Have a wonderful time creating!
Blessings,
Becky C
I am so glad i find your beautiful blog again Becky…love from me Ria 💕💕